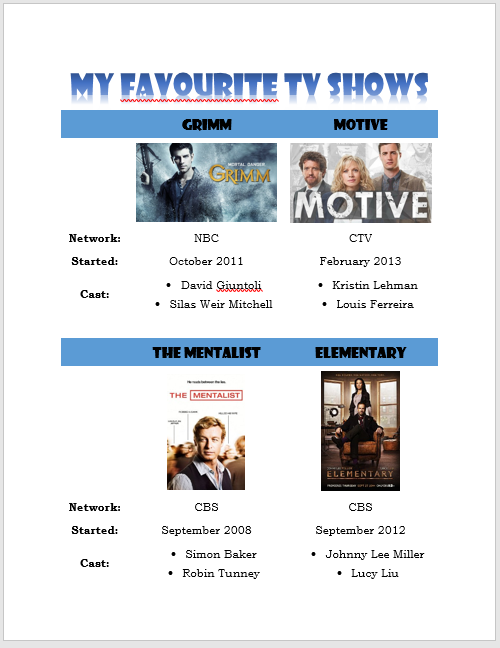
Favourite 4...


Set up & Info
Page heading
Type out a page heading - what's your topic? Favourite...

Insert Table
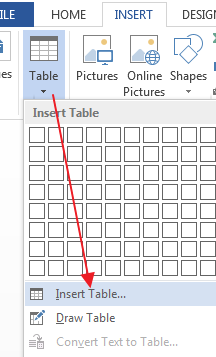
Enter to next line and go to INSERT>Table...use the drop-down menu...
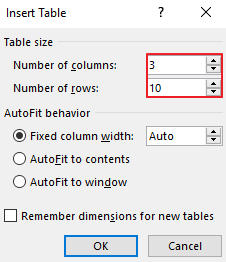
In the window that opens up, set it to have 3 columns and 10 rows.
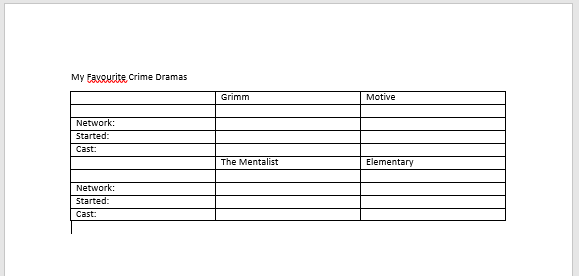
You should have something like this now.
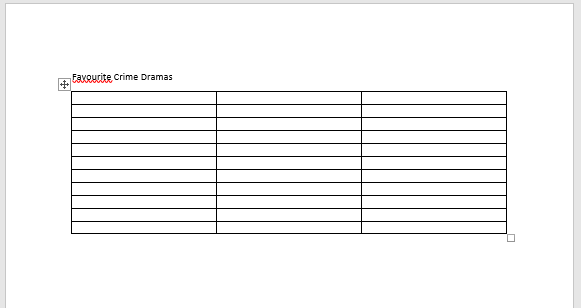
Table headings
Type in column headings for your 4 favourites. Also type in 3 row headings, what info you'll give for each topic.
Topic info
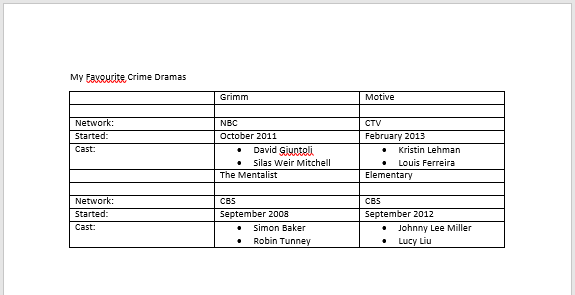
Add the info for each topic. Make sure one of your rows has a bulleted list of 2-3 bullets. So once I've put in the info I have something like this...
FOrmat Text
Font type & size
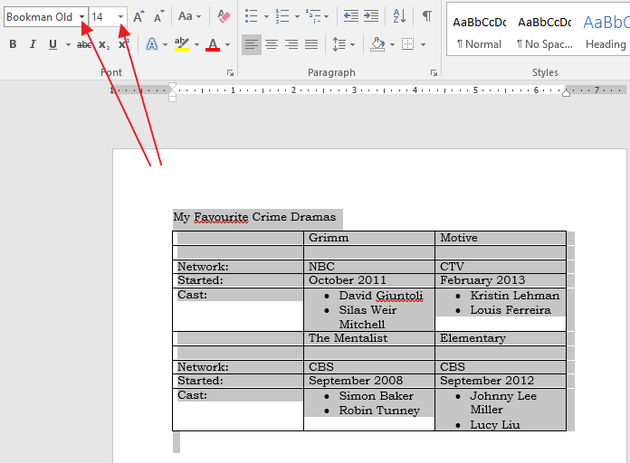
Select everything on your page (CTRL+A) and make it all "Bookman Old Style" font type and size "14".
Paragraph spacing
Select everything on your page (CTRL+A), and go to Paragraph spacing. Set it to 6 pt before & after, with the box unchecked, not shaded.

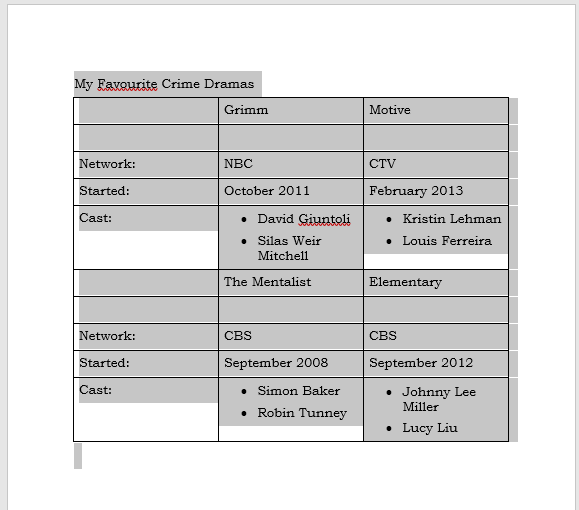
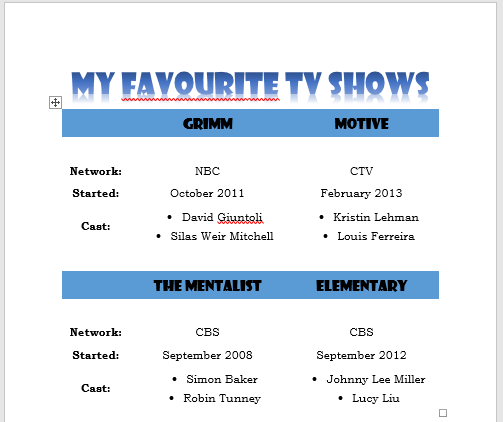
Your page should now look something like this...
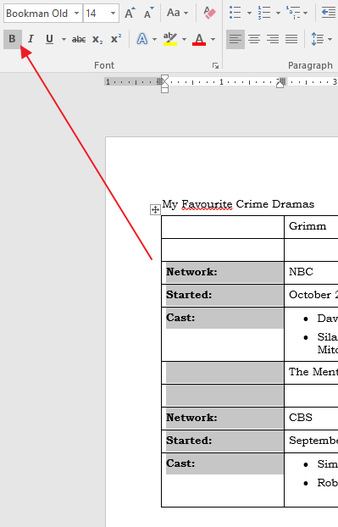
Left headings bold
Select the first column and make the text bold.
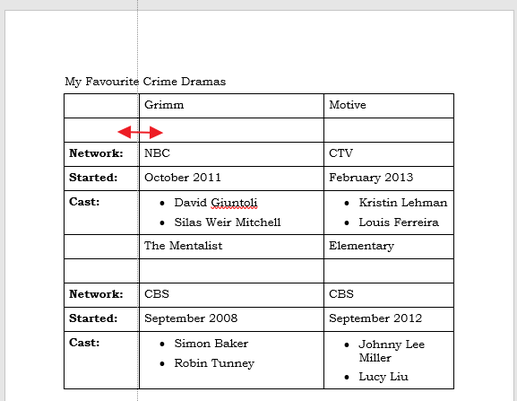
Column widths
Hover between the first two columns and drag to the left to make the first column as narrow as possible.
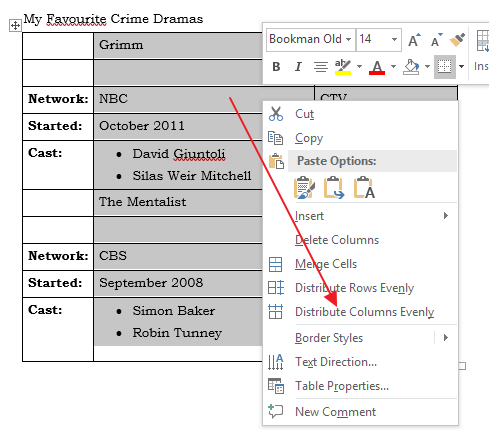
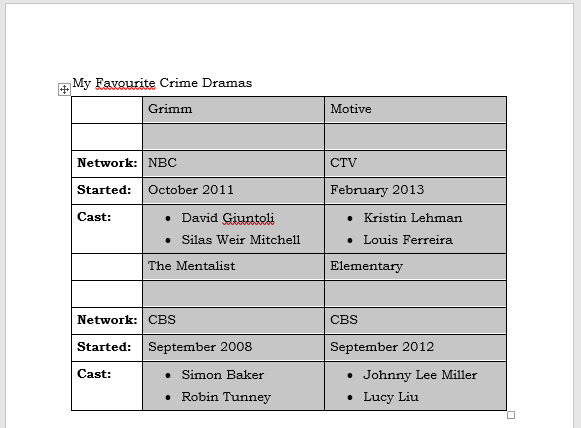
Then select the other columns and make them spaced evenly.
Now your page looks like this...
If you only have 2 bullets in the bullet rows, then add another row before the 2nd set of people/things - click on the "+" button as you hover to the top/left of the middle heading row . This is so it'll be easier to fill up your page and have a empty space before the shaded heading row for the bottom section.
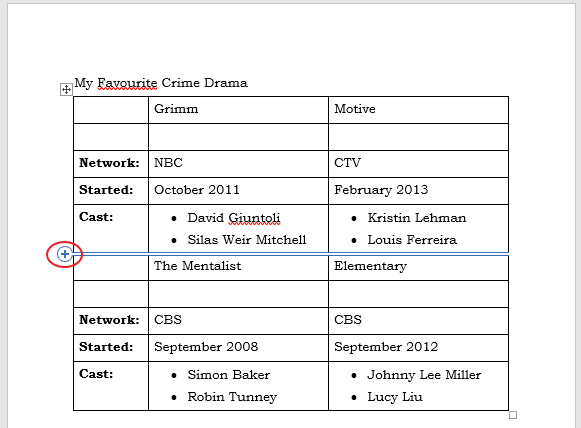
Then click in the row and Backspace to delete the bullets.
Headings
Page heading
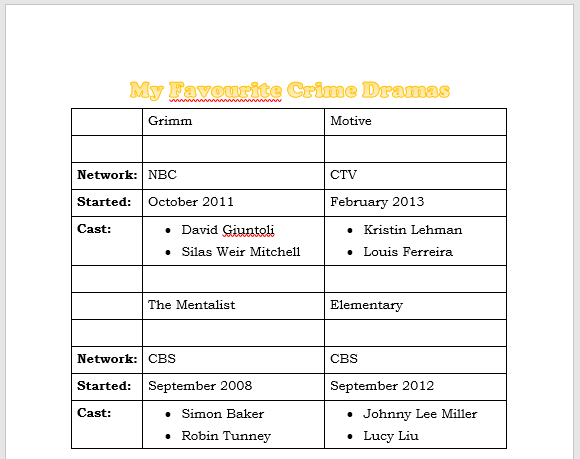
Select the page heading and ...
- make it a fun/bold font and big. It should fill up about 2/3 of the width of the line.
- Also center it.
- Give it a Style or color.
Option 1: set the 4 names to bold and make it bigger (18).
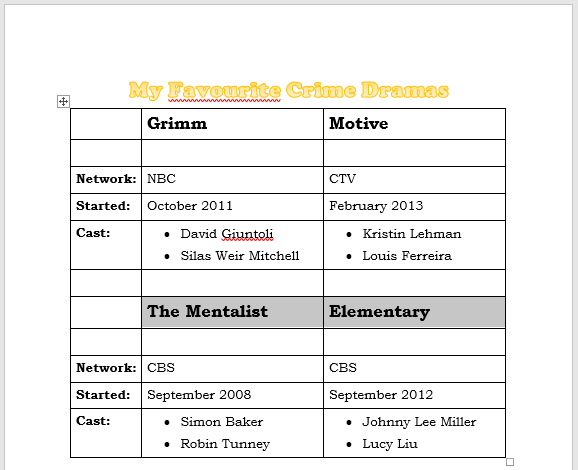
Option 2: change the font type to the same one you're using for your page heading. If it's a thicker type of font you don't need to make it bold; just make sure it's bigger than other text.
Pictures
Add photos
Find photos and put them in rows underneath the names.
- Make sure the pictures are about the same size (or height) as each other.
- Size your pictures so your table is on one page, but you've created a second blank page.
- If you put in wider type of pictures, you might not be filling up your page. You'll probably have to add more info later so you're filling up the page, or make your page heading bigger.
Get rid of extra blank page
If I didn't have everything fitting on one page at this point, I'd need to play with the size of my page heading font or the name headings (or take away a bullet if I have too much text).
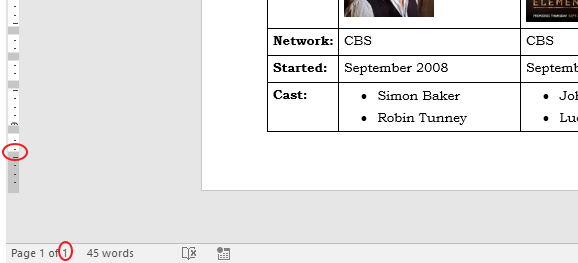
Since I have everything on one page, I need to just get rid of the extra blank page by
- First making sure I don't have any extra lines - delete them using Backspace or Delete.
- Then use the Ruler to drag down the bottom margin a bit.
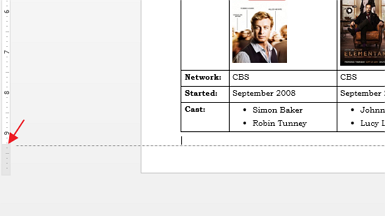
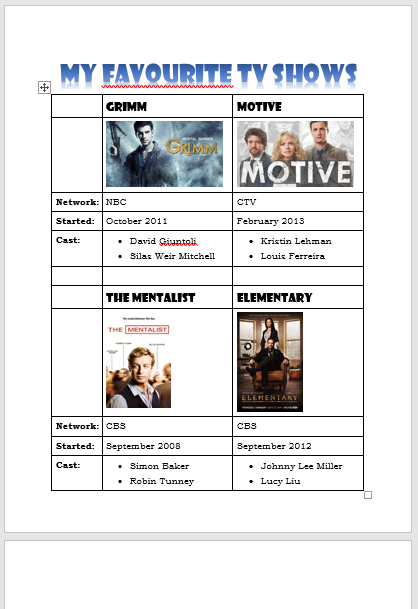
It should all fit like this...
Format Table
Cell alignment
Select the entire table, then go up to LAYOUT and set the cell alignment to center horizontally & vertically.
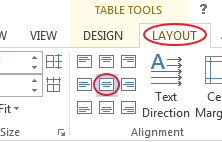
Here you can see the table used and where the cell alignment (vertical) is obvious...
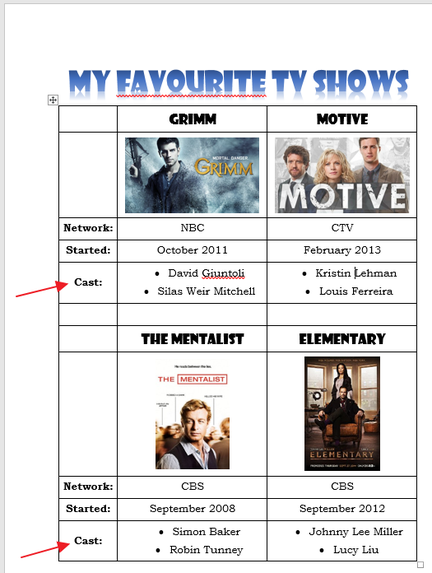
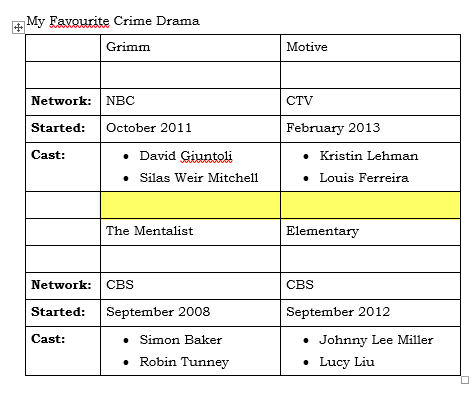
Table borders & shading
- Select the rows with the sames and add shading.
- Then select the table and click on the "Borders & Shading" button on the HOME toolbar, to remove the borders.
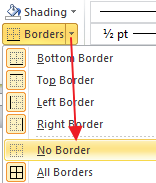
So then it looks like this...