
Maze

Add Table & Text
- Type out "Maze" and [Enter].
- On the empty line after "Maze", type your name
- [Enter] again so your cursor is blinking on an empty line below.

- Insert > Table ... 5x5
- In the top-left cell type "Start", and in the bottom-right cell "End".


Layout & Spacing
Bottom margin
Hover over the Ruler, where it changes from white to gray - you want it to say Bottom Margin... then pull it down to 1/2"


Paragraph
Select everything on the page (CTRL+A). Then go to Paragraph options...

- Line Spacing to Single
- Paragraph Spacing to 12pt before & after
- Make the checkbox empty (not shaded or checked)!


table rows
Select the table and go to the Layout tab ... set the row Height to 1.5"


alignment
Click in the "End" cell, go to the Layout tab and set Alignment to bottom right.


Select the top 2 lines of text and center them.


Fonts
Select the entire table and set the font type to Gigi and size 20.


Select just "Maze" and start by changing the font size to 36

Choose any thick font type and any style so long as you still have only 1 page!
Cooper Black, Goudy Stout, Snap ITC are shown below as suggestions


Table Style
Border style
Select the table - click on the selection icon on the top left...a

Then use the Borders drop-down menu and go to Borders and Shading...


Choose a Style (choose a dotted/dash style, single lines only), Color, Width and then say OK.

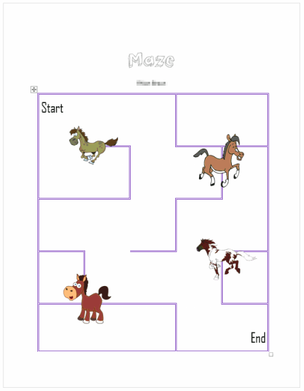
Your page now looks like this...

Create Maze Path
Rows/across
- Select 3 cells across in the first row.
Start by clicking inside the first "start" cell and drag to the right to include 2 more cells. - Then use the tool button for Border and choose Inside Vertical Border. This will hide the lines between those cells.


Keep going - selecting 2-3 cells across to create the path shown below.
- Select the cells
- Click on the Border tool button on the Home tab (or CTRL+Y to repeat the last action).


Columns/down
Start clicking in the cells in the first row and drag down 2 rows. Then go to Inside Horizontal Border....

Repeat this process for each column. Select 2-5 cells in the column and CTRL+Y or use the toolbutton to create the path below.


Clip Art
Right-click and "Copy Image" for one of the pictures below that you want to use.


At the bottom of your page, after the table, click and CTRL+V to paste.

Add text wrapping In Front...

Then click and drag the photo to this position (make sure you still see a bit of the path above it.

Repeat for 2 more pictures:
- Copy the picture
- Paste after the table
- Text Wrapping: In Front
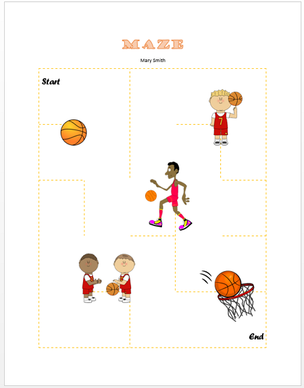
- Move into position as shown below.

Optional: find your own pictures
These examples below are to give you ideas of what you can do (but they are with different mazes and picture positions). The important thing is whatever pictures you find, they need to be have transparent backgrounds so you can see the maze lines through/behind them.
In a new tab in Chrome, do a search for "cartoon ... transparent background" and whatever your theme is. In my example I searched for "fish".

If you find a picture you like, click on it to see the preview.
- If you see little squares like in the example below, then it'll work.
- If there's stuff in the background or you see squares in the thumbnail, it won't work.

Right-click on the preview picture (not the thumbnail) and "Copy Image".

Do the same thing with your own pictures
- Paste into Word
- Add text wrapping "Front"
- Move into the positions shown below.
